Yesterday on a nice evening I wanted to upgrade my HP Mini to Microsoft Windows 7.
The HP Mini doesn’t have a CD/DVD-ROM drive on board as many mini notebooks.
I had two options connect a external dvd-drive or create a bootable USB Stick.
There is not much fun in just connecting a external dvd-rom drive so I went for the option of creating a bootable Microsoft Windows 7 install stick.
Surfing the web searching on how to create an installable Windows 7 USB stick, I noted there where some different options in creating one. I tested them out and will explain them.
The 2 different versions I tested:
- Difficult: manual way of creating a bootable Windows 7 install USB stick
- Easy: Automatic way via a tool to create a bootable Windows 7 install USB stick
What you will be needing:
- An empty USB stick minimum 4GB
- An Microsoft Windows 7 install DVD ISO file
- A computer to prepare the USB drive
- A computer or virtual machine to test the USB boot stick.
1. Manual way of creating a bootable Windows 7 install USB stick
- Insert the USB device you will want to use and copy all the data you still need on the USB device to a temporary location on your hard drive. (Warning: All data will be destroyed on this USB device)
- Open a Command Box with Administrative Rights
If you are running windows vista or 7 allow the program to startup when the User account control notification appears. (I’ve learned if you enter ctr+shft+Enter on a shortcut that you will start the shorcut as admin) - start DISKPART, type in DISKPART in the cmd box
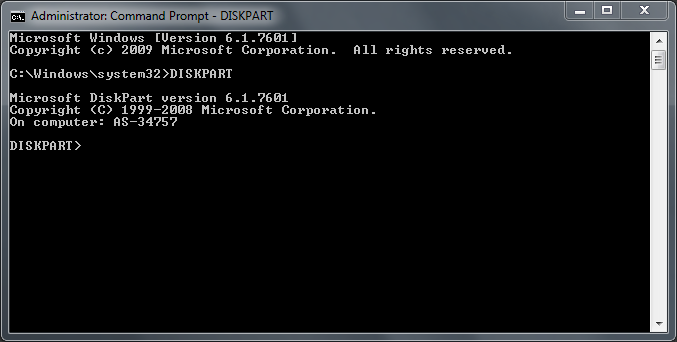
- List all the disks in your computer by typing the command ‘list disk’

Here you can see that I have a Hard disk of 232GB (250GB) and another Disk of 7640MB (8GB)
My Stick is a 8GB USB stick so ‘Disk 1’ will be the disk that I’ll be working with. - Next we are going to use the following commands to clear all data/partitions from the disk, create a primary partition, mark it as active, format it and assign a drive letter:
Turn on the computer and select the USB as boot device (or change the boot order to boot the pc from USB first)
If everything went well you will see the Microsoft Windows 7 Setup start upSELECT DISK 1 CLEAN CREATE PARTITION PRIMARY SELECT PARTITION 1 ACTIVE FORMAT QUICK FS=NTFS ASSIGN EXIT
- Next we will need to make the USB device bootable, we will need bootsect.exe file and the drive letter for the USB device. The USB device on my computer is mounted to I:\We can find the file bootsect.exe on the Microsft Windows 7 install DVD or ISO File.
I extracted the file from the boot folder on the ISO container with 7-zip to d:\win7\bootsect.exeGo back to the command box with administrative rights and go to the Directory where you extracted the bootsect.exe file, in my caseD: CD D:\WIN7\
Then run the following command to make the USB device bootable:
BOOTSECT.EXE /NT60 I:
- Now copy all the data from the Microsft Windows 7 install DVD or ISO File
In my case I extracted all the data from the ISO file to the USB device with 7-zip. - Turn on the computer and select the USB as boot device (or change the boot order to boot the pc from USB first)
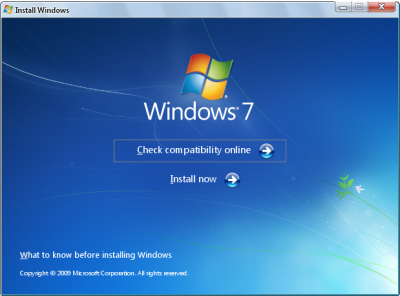
- If everything went well you will see the Microsoft Windows 7 Setup start up
2. Automatic way via a tool to create a bootable Windows 7 install USB stick
Microsoft made creating a bootable windows 7 install usb stick very easy for us.
They created a tool called “Windows 7 USB/DVD download tool” more info can be found in the Microsoft Store on this page.
Let’s go through the steps:
- Download the Windows 7 USB/DVD Download tool
- Install the Tool by starting the setup file and following the direction on the screen:
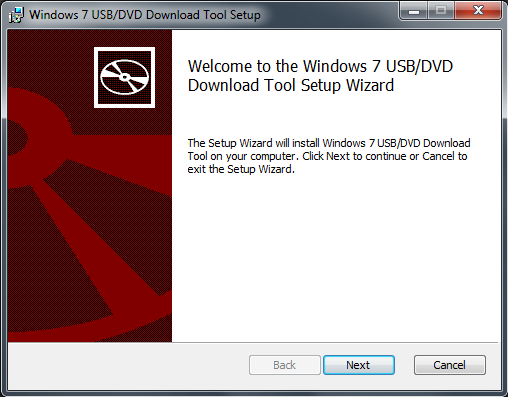
Click Next
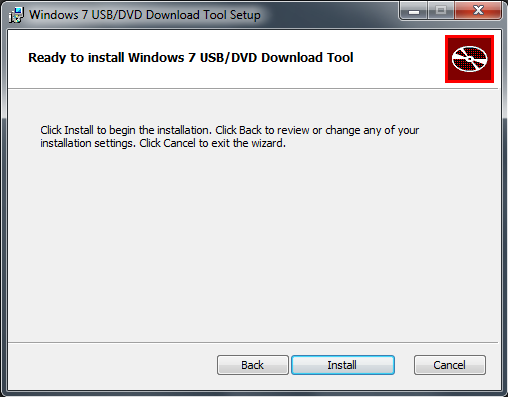
Click Install

Click Finish - Open the tool by clicking the icon named “Windows 7 USB DVD Download Tool” Created on your desktop or in the start menu.

If you are running windows vista or 7 allow the program to startup when the User account control notification appears. - When the program opens you need to browse to your Windows 7 install DVD ISO file
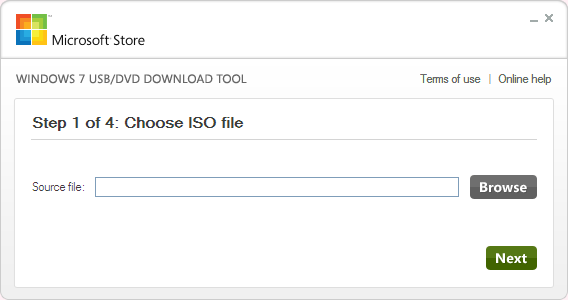
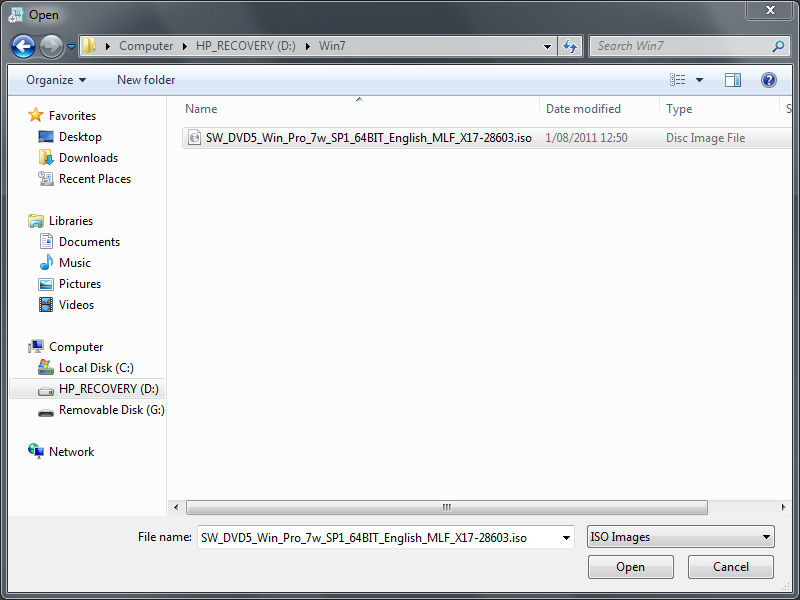
Browse to the path where you have stored your Windows 7 ISO file and then click on Open
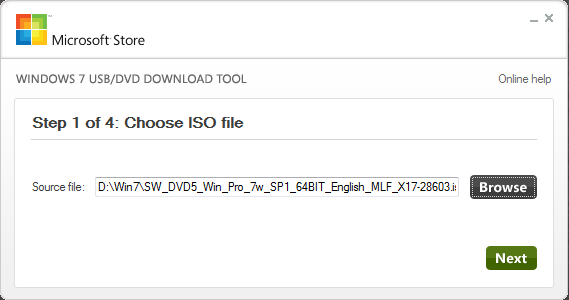
The path and name of your ISO file will be in the source file path
Click Next and choose USB Device to create the installation usb stick

Now it’s time to select the USB device we will be using, if you didn’t connect your USB device yet, do it know
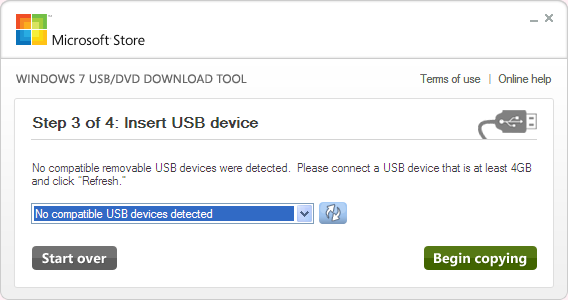
Choose the USB device you want to utilize
(Warning: All data will be destroyed on this USB device)
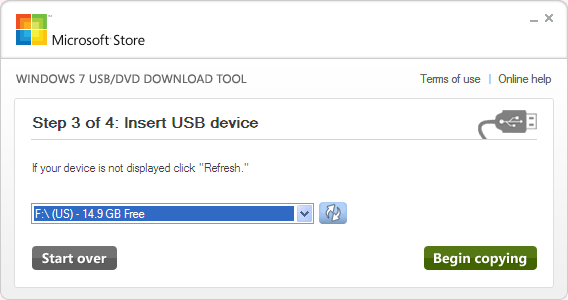
Click On “Begin copying” to start the proces
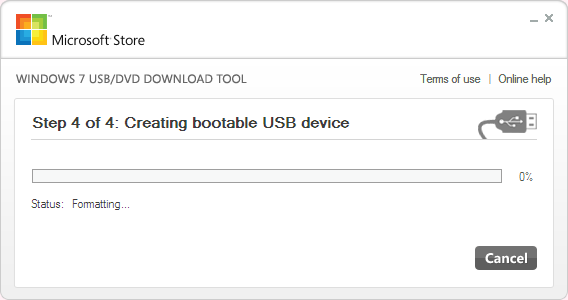
The USB disk will be formatted

Then the files will be copied to the USB device
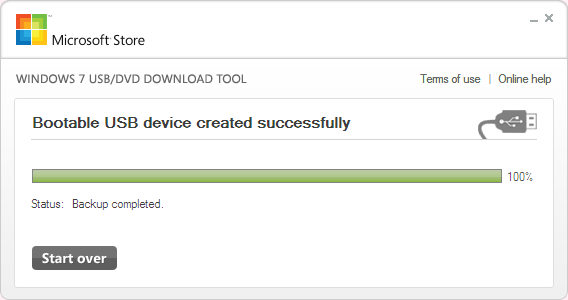
When it’s finished you can safely close the program - Safely remove the USB device and plug it into the computer where you will test the USB boot
- Turn on the computer and select the USB as boot device (or change the boot order to boot the pc from USB first)
- If everything went well you will see the Microsoft Windows 7 Setup start up


Leave a Reply
You must be logged in to post a comment.