
This is a follow up post for Installing pfsense router on ESXi
if you mist the first post you can read it here.
Step 2 : Configure a basic pfsense
The default ip for pfsense on the lan side is 192.168.1.1
I’m going to change this because I want it to be 172.30.1.1/16
I’m also going to enable DHCP on the lan side
After that I will do a initial config with the wizard
I’m going to change this because I want it to be 172.30.1.1/16
I’m also going to enable DHCP on the lan side
After that I will do a initial config with the wizard
- Go to the pfsense console menu and press 2 (set interface IP address)

- Select 2 for the lan interface

- Enter the ip adress you want your router to have I want it to have 172.30.1.1

- Now the subnet you are working on. Mine is 16 or 255.255.0.0

- Enter (y) to enable the DHCP server

- We will need to enter a start and a en address for the address pool we want the DHCP to handle.

My address pool will be between 172.30.1.240 and 172.30.1.254 - To enable the webconfigurator enter (y) on the next question

- Press Enter to apply the settings, you will be returned to the pfsense console menu.

- Go to a test client (mine is a winows 7) that runs on the lan (in my case LAN-test) and run ipconfig in a command prompt, normally the client shood have received a IP address from the DHCP server. If not check if a static ip is configured (if it is the case change it to dhcp) and that you are on the correct network.
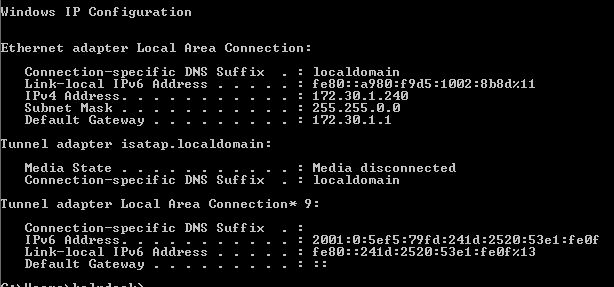
- Open a webbrowser and point it to the address you configured
Http://172.30.1.1 login with the following default credentials:
Username: admin
Password: pfsense

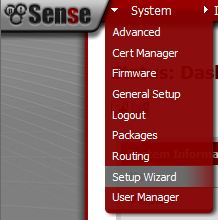
- Click System -> Setup wizard to start a wizard to configure the basic settings for the router
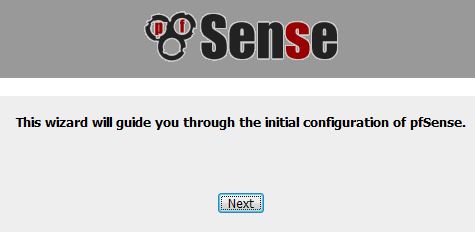
- Click Next to start the setup wizard
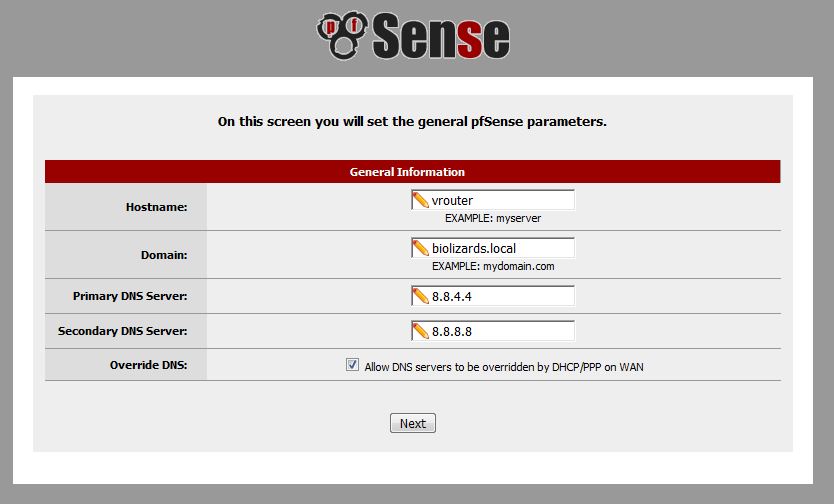
- Change the Hostname to whatever you want your router to be named I chose vrouter
Enter your domain I chose biolizards.local
For the primary and secondary I chose to configure the public dns servers from google wich are 8.8.4.4 and 8.8.8.8 you can also configure your ISP dns server here.
- I’m leaving the default timeserver but I will cahnge the timezone to Europe\Brussels (UTC+1)

- Only check if the SelectedType is DHCP for the WAN connection leave the rest as default

- Confirm IP address an subnet that we entered
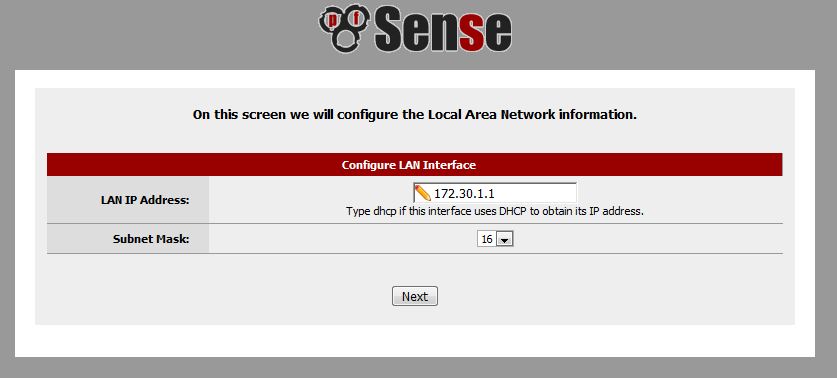
- Enter a new webconfigurator password (in my case Bi0lizard$)

- Click the reload button to save and apply all settings
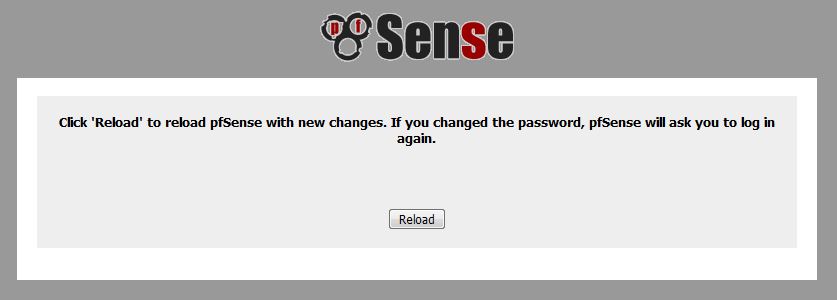
- Wait until the reload is done, you will be automatically be forwarded to the pfsense dashboard
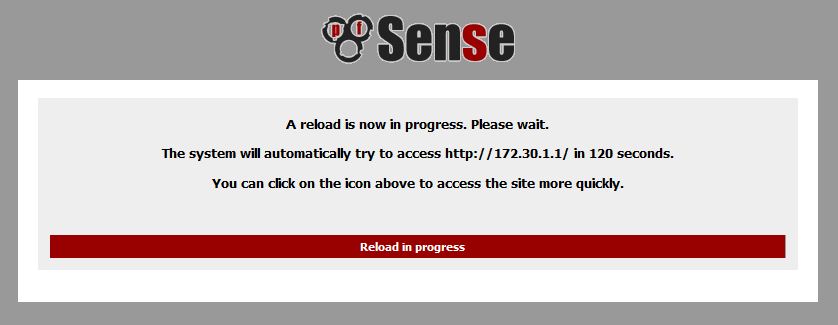
You Now have a basic configured router like a linksys, dlink or other brand home router.
But don’t stop here pfsense has many more features for you to configure and is much more then a simple router.
But don’t stop here pfsense has many more features for you to configure and is much more then a simple router.
Leave a Reply
You must be logged in to post a comment.