As you might have read on my homelab page I’m starting to rebuild my test environment from scratch
(I like to call it my homelab).
To start off I’ll be installing pfsense as a temporary router.
pfSense is a free, open source customized distribution of FreeBSD tailored for use as a firewall and router. In addition to being a powerful, flexible firewalling and routing platform, it includes a long list of related features and a package system allowing further expandability without adding bloat and potential security vulnerabilities to the base distribution. More information can be found on the pfsense website
Since I’m building my homelab on a ESXi server I’ll need to create a virtual server with following specifications:
- 1 vCPU
- 256 MB Ram
- Hardisk 1GB
- Network to your operational lan (for me LAN-test: VLAN 8)
- Network to your ISP (for me WAN-ISP-Telenet: VLAN 6)
Before we start installing we must download the installation iso.
Since version 2.0-rc3 is available I will install that one.
You can download it here: http://blog.pfsense.org/?p=589.
I downloaded this version pfSense-2.0-RC3-amd64-20110621-2308.iso
Step 1 : Installing pfsense on ESX/ESXi
- Start the virtual machine and mount the iso file
- Boot from the iso file
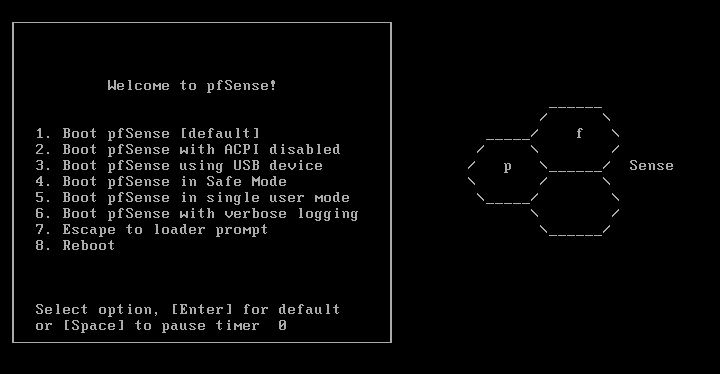
- Choose the defaul (1) or wait until auto boot continues
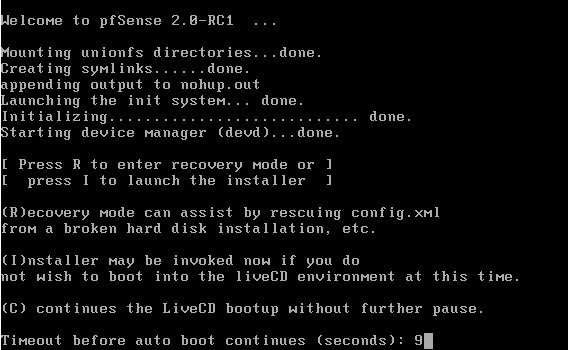
- Press (I) to run the installer (be quick you only have 10 seconds)
- Because I live in Belgium I have a azerty keyboard lay-out, so I will change my keyboar mapping to be.iso.acc.kbd
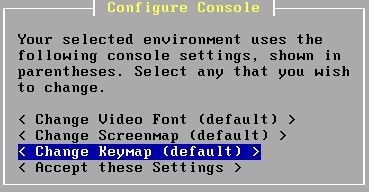
Select Change Keymap (default)

Choose your keyboard layout (In my case the “be.iso.acc.kbd”)
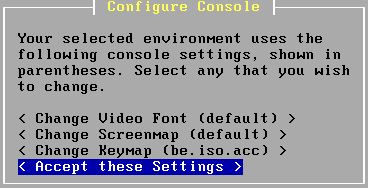
Accept these settings to continue - I will be preforming a basic install

Choose Quick/Easy Install
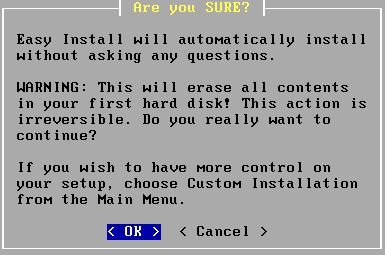
Click Ok to kick off the installation - The installation will ask you witch custom Kernel you want to install

Choose “Symetric Multiprocessing kernel (more than one processor)” - At the end of the installation you will be asked to reboot the machine
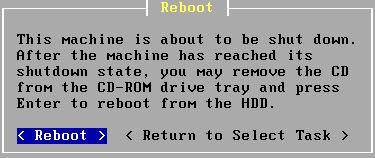
Unmount the iso from the virtual machine and click reboot - At the first boot up you will need to configure if you are using VLANs and witch Network interface is for witch connection.
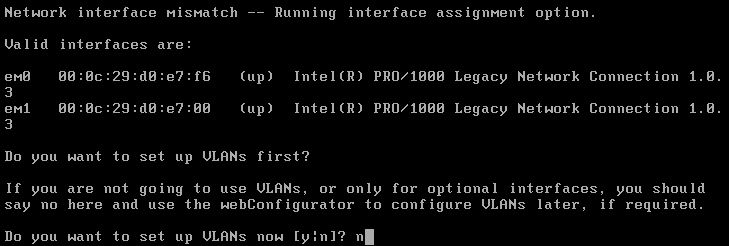
Enter (n) we will not be needing VLANs

em0 is my Wan interface

em1 is my lan interface

press enter (we are not going to use a optional interface)

press (y) to confirm the assigned interfacesIf you don’t know witch interface is witch you can check the virtual machine settings an check the mac address. Another way is to disconnect the network connections and choose (a) for auto discovery and enable reconnect the network right connection at the right time. - The pfsense Menu will appear end the installation will be finished
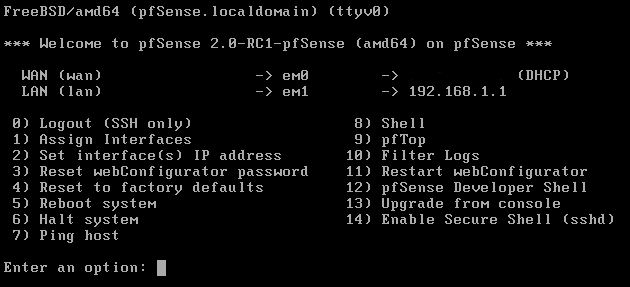
The rest of the basic configuration I will handle in step 2

Leave a Reply
You must be logged in to post a comment.